KEYSTONE

Loading

Driveways, patios and practical improvements for the place you call home.

Contact Info

  • Service area and contact details will be announced before launch.
GET IN TOUCH

Residential & commercial • Paving & outdoor improvements

PAVING & OUTDOOR IMPROVEMENTS

A better way home.

A smooth arrival. A patio made for weekends. Thoughtful paving and outdoor improvements that make your property work better, every day.

PLAN YOUR PROJECT →
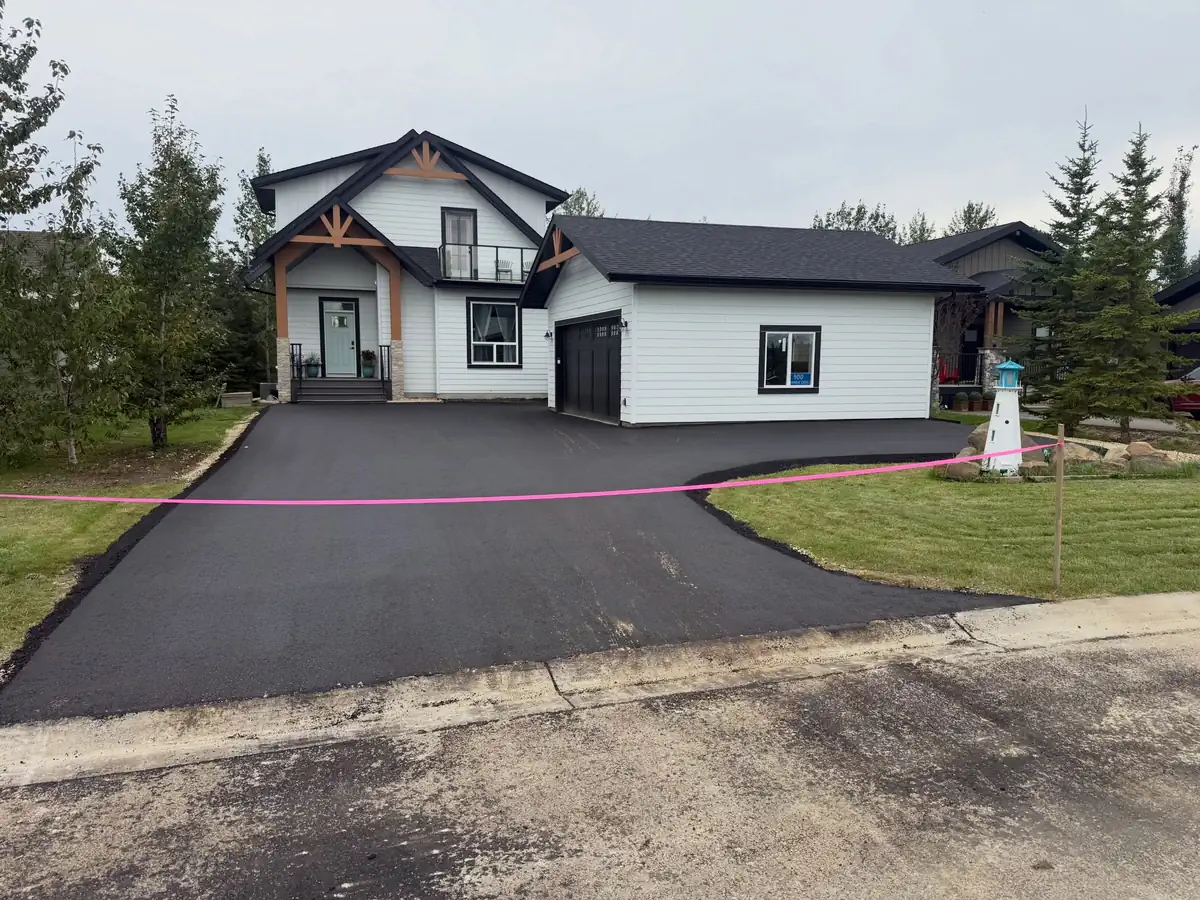
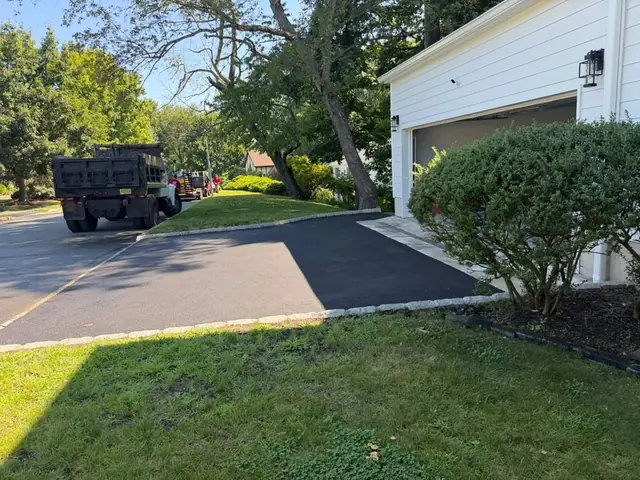
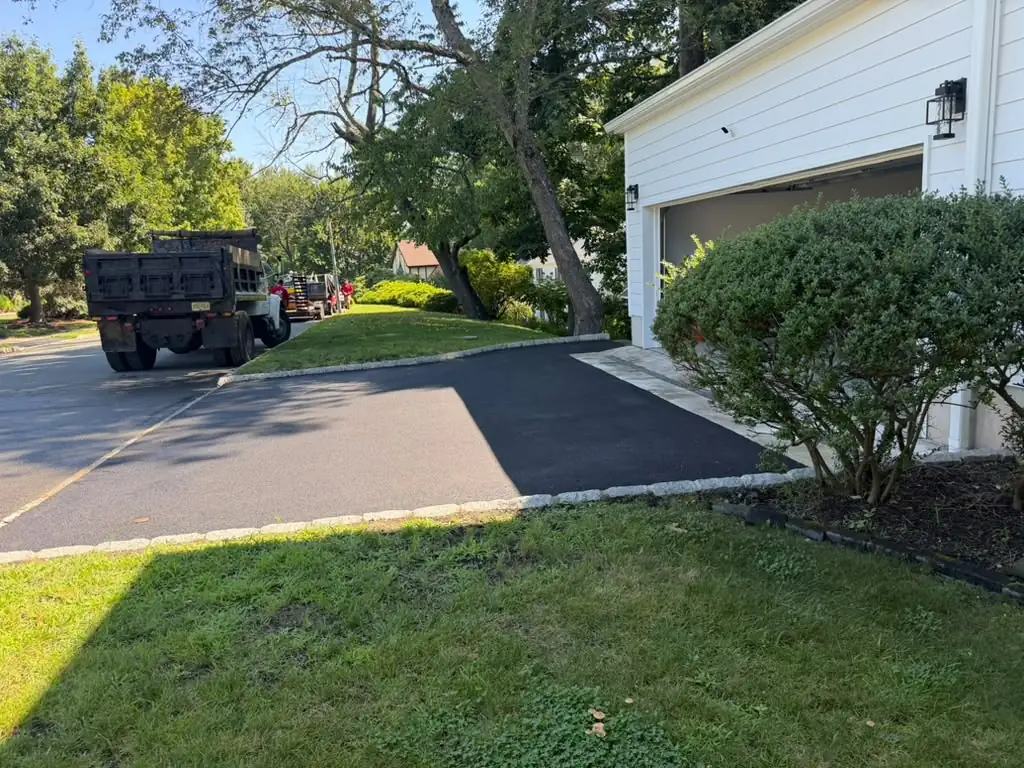
Illustrative asphalt driveway with a paver border and landscaped American home Illustrative design inspiration
ABOUT US

Good work starts with solid ground.

Keystone Paving & Outdoor is a new paving and outdoor improvement brand built around a straightforward approach: understand the property, plan the preparation, and define the work clearly before it begins.

Property-first planning

Consider access, water flow and how you use the space—not just the surface.

Clear project scope

Talk through materials, preparation, timing and cleanup before making a decision.

GET IN TOUCH
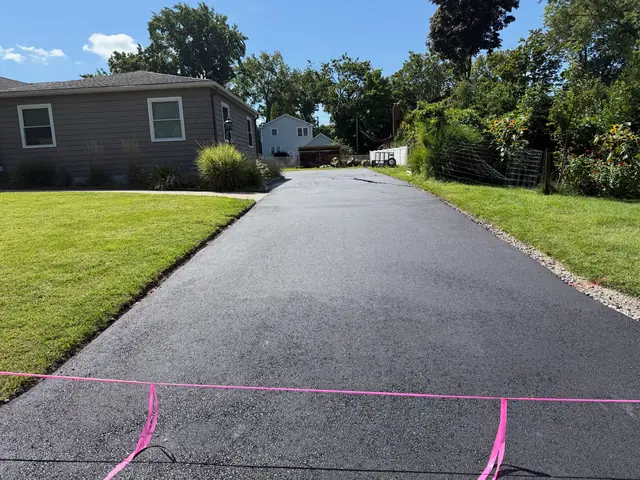
Illustrative detail of an asphalt driveway and paver edging

01

Plan

02

Prepare

03

Finish

OUR SERVICES

Better surfaces. More possibilities.

From the first turn into your driveway to the last step onto your patio, start with the right solution for your property.

PLAN YOUR PROJECT
Illustrative paving material detail
01

Asphalt driveways

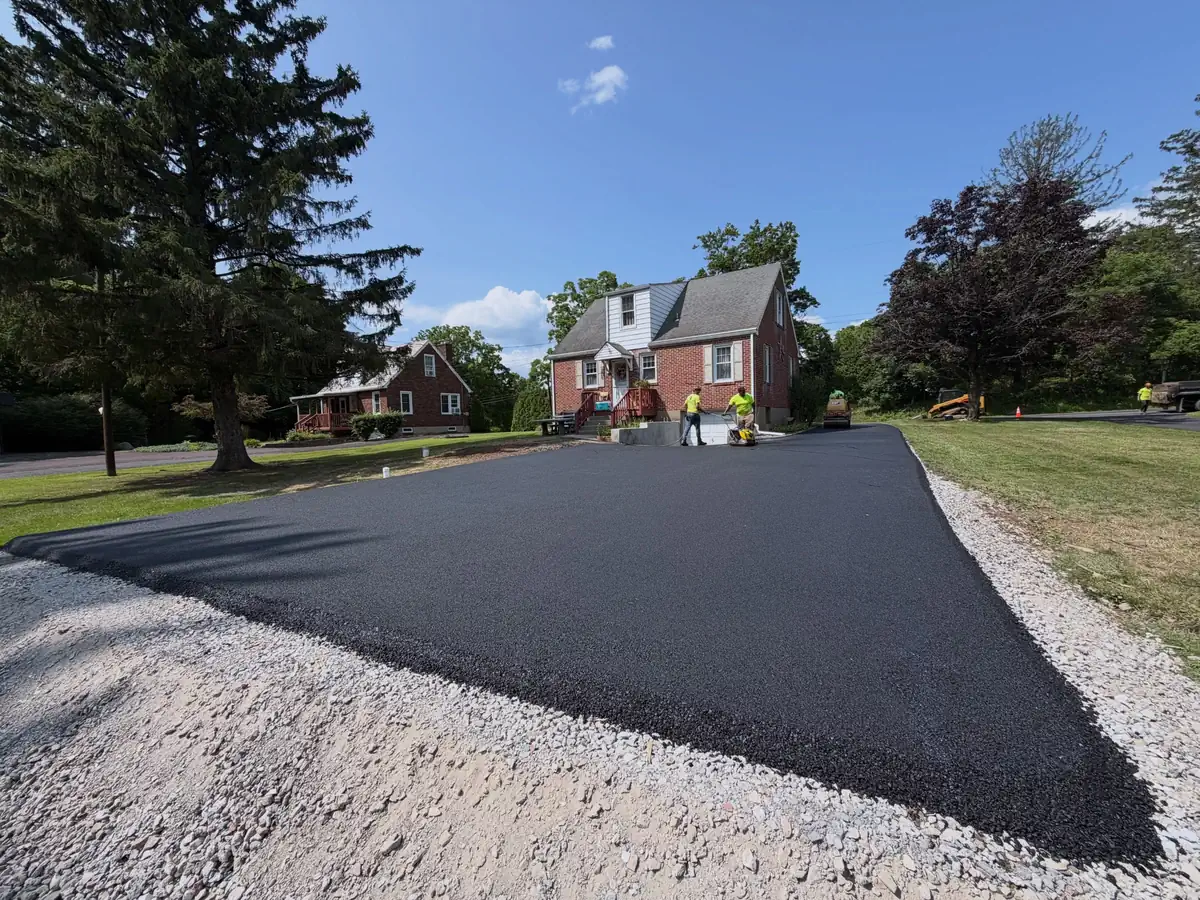
New installations and replacement planning for a smooth, practical entrance. Discuss grading, base preparation and surface options.

Discuss project
Illustrative paving material detail
02

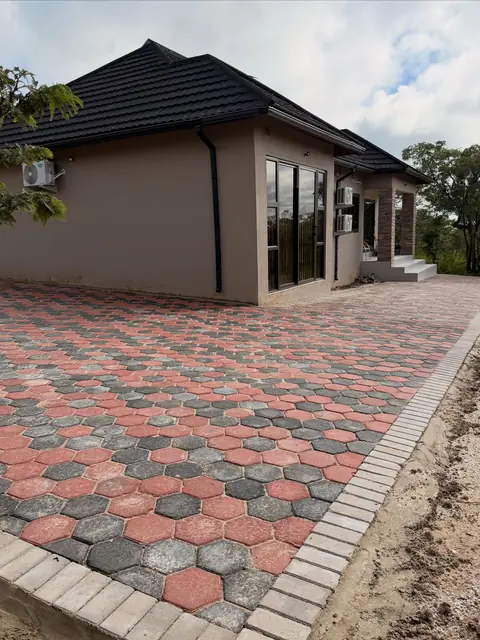
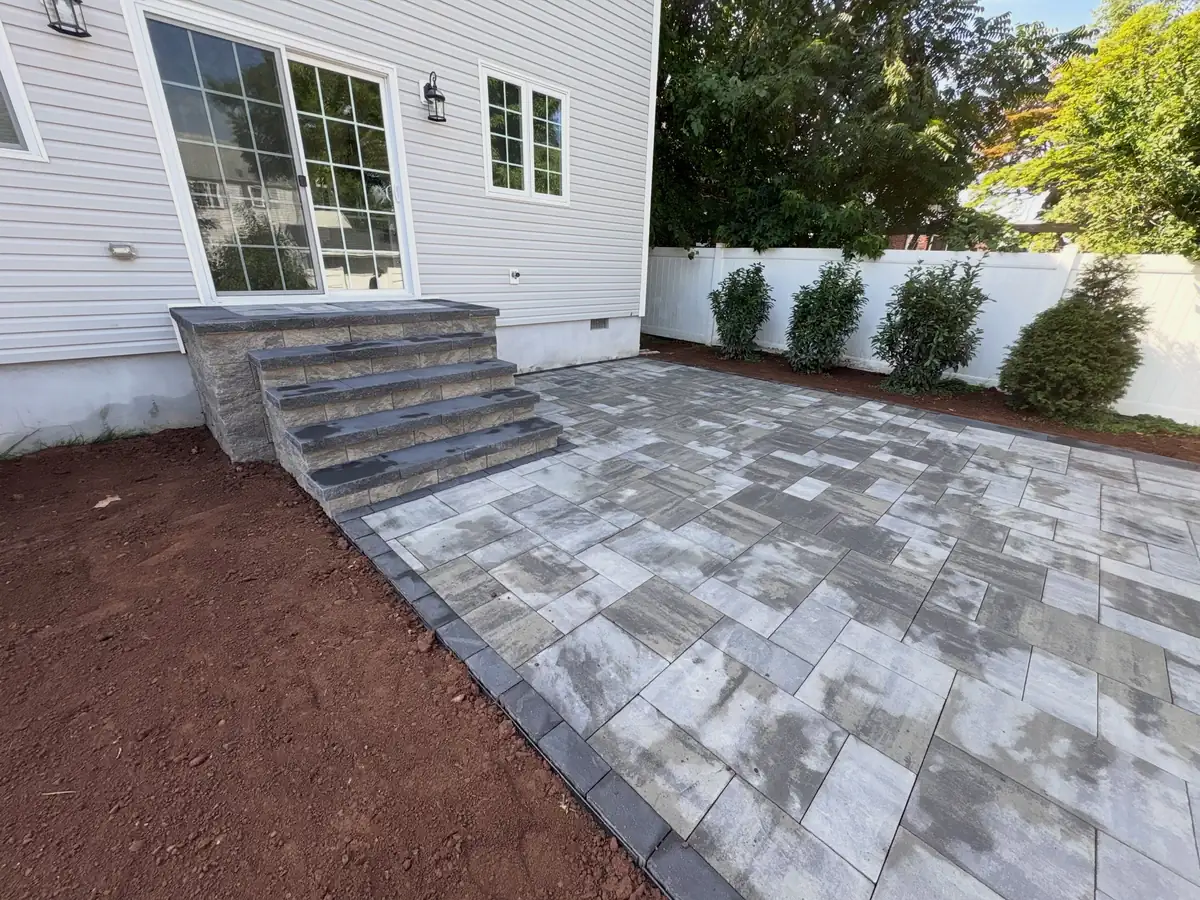
Paver patios & walks

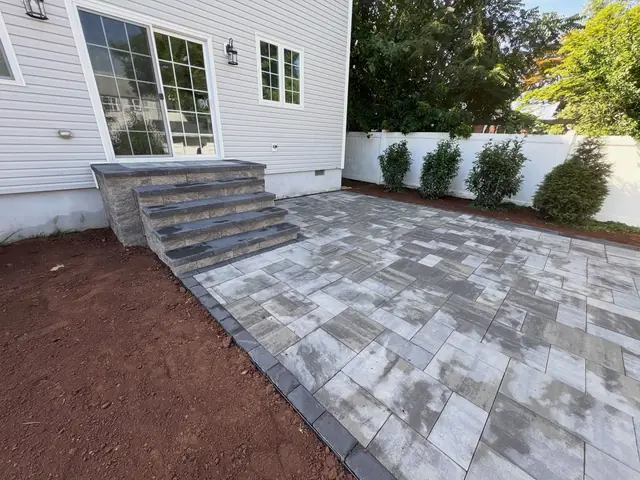
Create an inviting outdoor space with paver layouts, defined edges and a considered approach to drainage.

Discuss project
Illustrative paving material detail
03

Asphalt repairs

Explore patching and repair options for localized damage. The condition of the base helps determine the right approach.

Discuss project
Illustrative paving material detail
04

Surface maintenance

Discuss crack treatment and sealcoating where suitable, with preparation and timing matched to the surface.

Discuss project
Illustrative driveway and walkway design
HOW IT WORKS

From your first idea to the final walk-through.

A useful estimate starts with the details. Here is what to discuss when planning your project.

01 / Tell us about the property

Share your location, approximate dimensions, existing surface and a few photos.

02 / Review the scope

Discuss preparation, materials, drainage and what is included in the estimate.

03 / Plan the work

Confirm access, scheduling, cleanup and surface care before work starts.

GET IN TOUCH
LATEST PROJECTS

A closer look at the work.

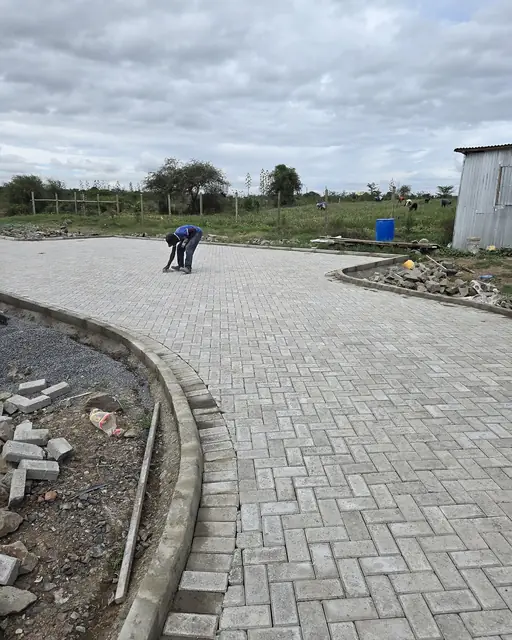
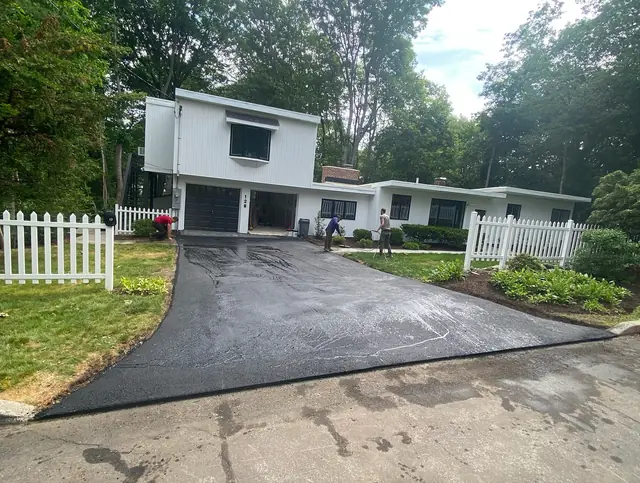
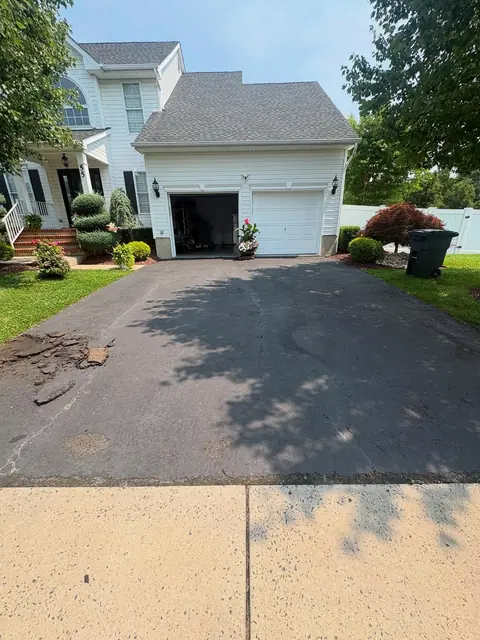
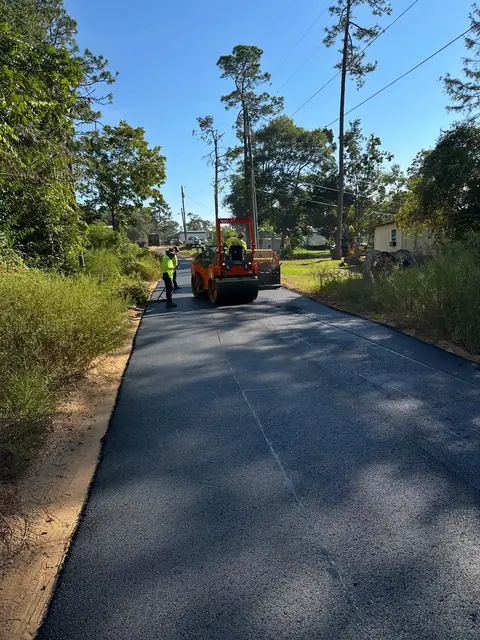
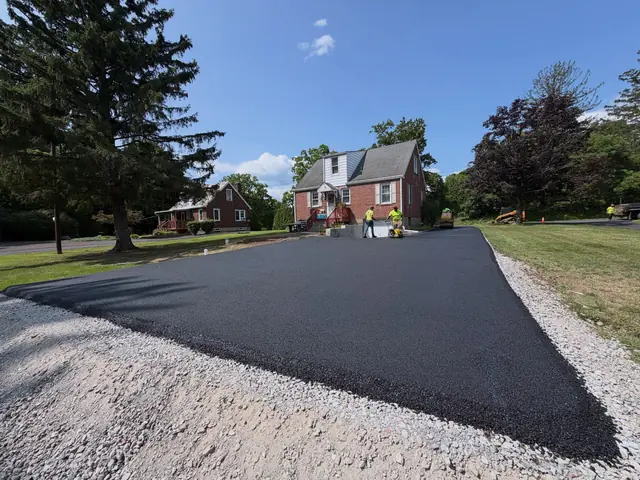
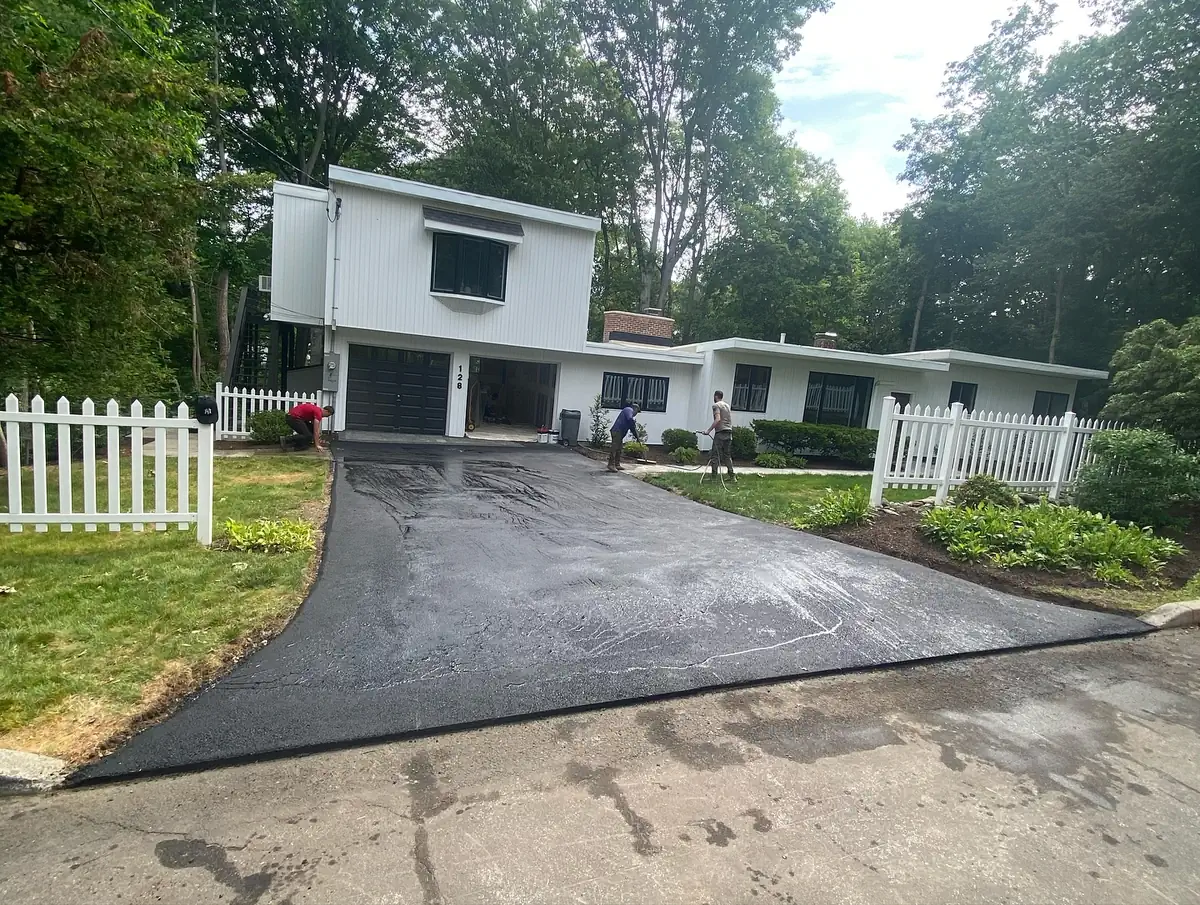
Explore project photographs. Select a photo for a closer look.

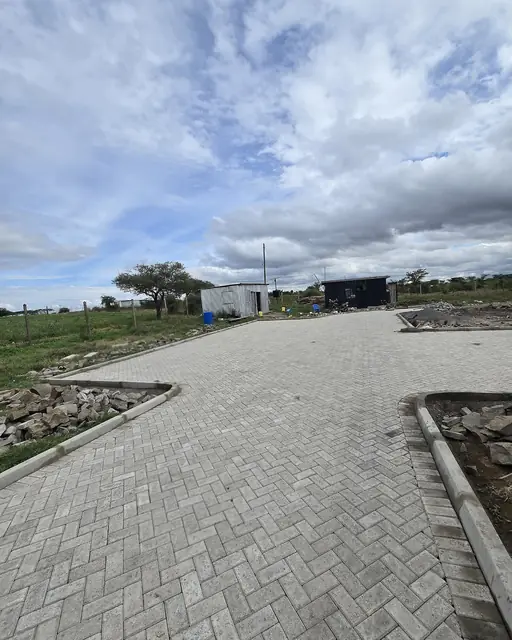
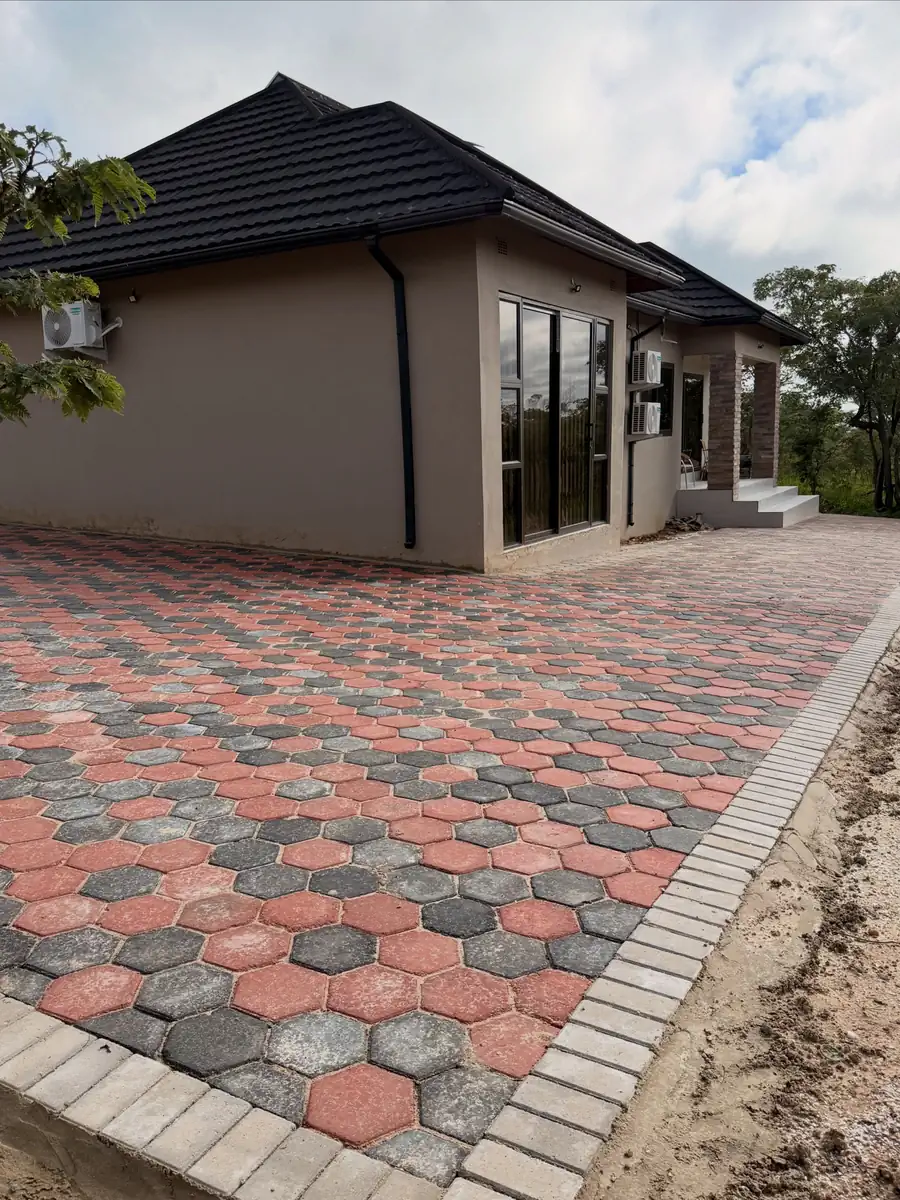
Project photograph 1 Project photograph 1
PROJECT GALLERY

Project 01

View photo
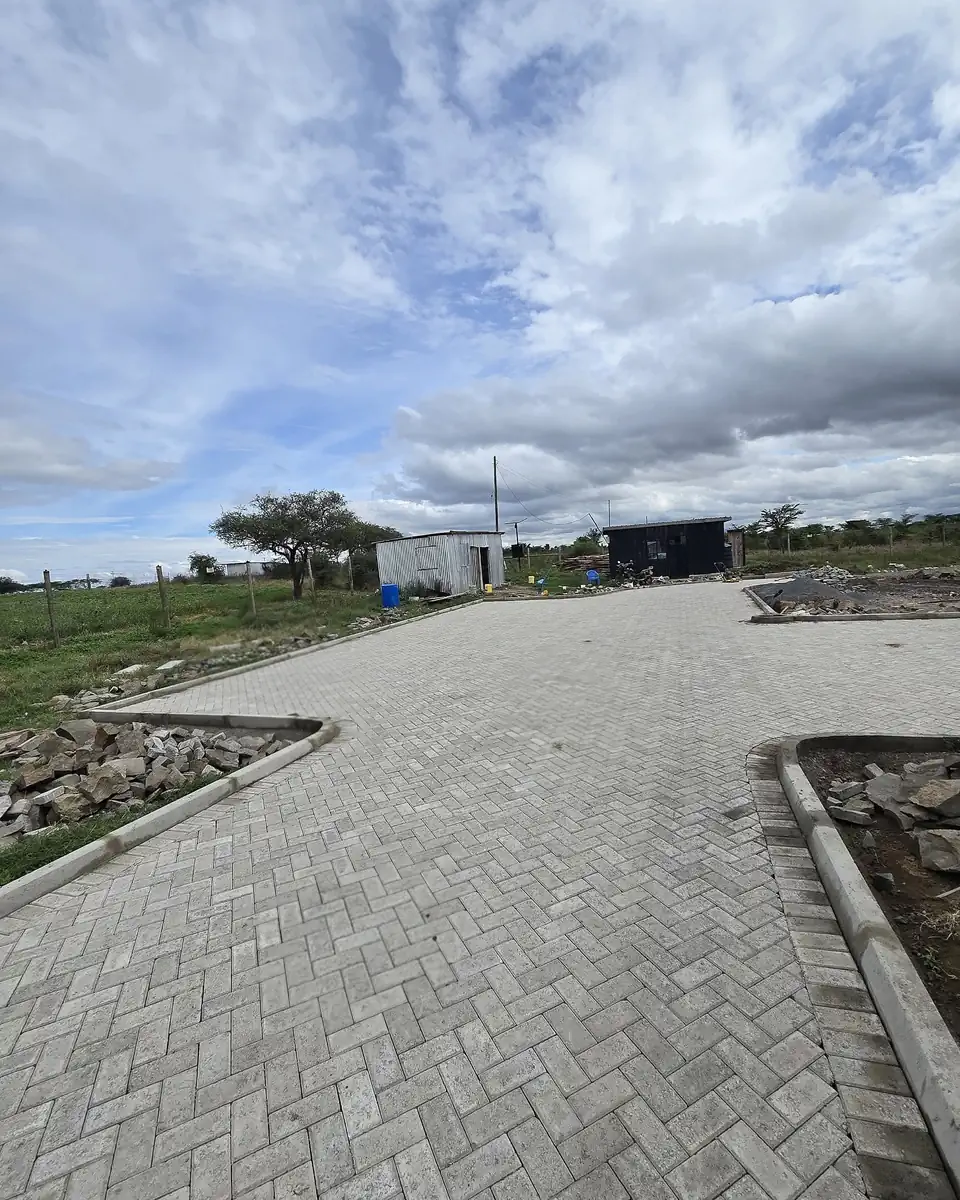
Project photograph 2 Project photograph 2
PROJECT GALLERY

Project 02

View photo
Project photograph 3 Project photograph 3
PROJECT GALLERY

Project 03

View photo
Project photograph 4 Project photograph 4
PROJECT GALLERY

Project 04

View photo
Project photograph 5 Project photograph 5
PROJECT GALLERY

Project 05

View photo
Project photograph 6 Project photograph 6
PROJECT GALLERY

Project 06

View photo
Project photograph 7 Project photograph 7
PROJECT GALLERY

Project 07

View photo
Project photograph 8 Project photograph 8
PROJECT GALLERY

Project 08

View photo
Project photograph 9 Project photograph 9
PROJECT GALLERY

Project 09

View photo
Project photograph 10 Project photograph 10
PROJECT GALLERY

Project 10

View photo
Project photograph 11 Project photograph 11
PROJECT GALLERY

Project 11

View photo
Project photograph 12 Project photograph 12
PROJECT GALLERY

Project 12

View photo
Project photograph 13 Project photograph 13
PROJECT GALLERY

Project 13

View photo
Project photograph 14 Project photograph 14
PROJECT GALLERY

Project 14

View photo
Project photograph 15 Project photograph 15
PROJECT GALLERY

Project 15

View photo
Project photograph 16 Project photograph 16
PROJECT GALLERY

Project 16

View photo
Project photograph 17 Project photograph 17
PROJECT GALLERY

Project 17

View photo
Project photograph 18 Project photograph 18
PROJECT GALLERY

Project 18

View photo
Project photograph 19 Project photograph 19
PROJECT GALLERY

Project 19

View photo
Project photograph 20 Project photograph 20
PROJECT GALLERY

Project 20

View photo
Project photograph 21 Project photograph 21
PROJECT GALLERY

Project 21

View photo
Project photograph 22 Project photograph 22
PROJECT GALLERY

Project 22

View photo
Project photograph 23 Project photograph 23
PROJECT GALLERY

Project 23

View photo
Project photograph 24 Project photograph 24
PROJECT GALLERY

Project 24

View photo
Project photograph 25 Project photograph 25
PROJECT GALLERY

Project 25

View photo
Project photograph 26 Project photograph 26
PROJECT GALLERY

Project 26

View photo
Project photograph 27 Project photograph 27
PROJECT GALLERY

Project 27

View photo
Project photograph 28 Project photograph 28
PROJECT GALLERY

Project 28

View photo
Project photograph 29 Project photograph 29
PROJECT GALLERY

Project 29

View photo
Project photograph 30 Project photograph 30
PROJECT GALLERY

Project 30

View photo
Project photograph 31 Project photograph 31
PROJECT GALLERY

Project 31

View photo
Project photograph 32 Project photograph 32
PROJECT GALLERY

Project 32

View photo
Project photograph 33 Project photograph 33
PROJECT GALLERY

Project 33

View photo
Project photograph 34 Project photograph 34
PROJECT GALLERY

Project 34

View photo
Project photograph 35 Project photograph 35
PROJECT GALLERY

Project 35

View photo
Project photograph 36 Project photograph 36
PROJECT GALLERY

Project 36

View photo
Project photograph 37 Project photograph 37
PROJECT GALLERY

Project 37

View photo
Project photograph 38 Project photograph 38
PROJECT GALLERY

Project 38

View photo
Project photograph 39 Project photograph 39
PROJECT GALLERY

Project 39

View photo
Project photograph 40 Project photograph 40
PROJECT GALLERY

Project 40

View photo
Project photograph 41 Project photograph 41
PROJECT GALLERY

Project 41

View photo
Project photograph 42 Project photograph 42
PROJECT GALLERY

Project 42

View photo
Project photograph 43 Project photograph 43
PROJECT GALLERY

Project 43

View photo
Project photograph 44 Project photograph 44
PROJECT GALLERY

Project 44

View photo
Project photograph 45 Project photograph 45
PROJECT GALLERY

Project 45

View photo
Project photograph 46 Project photograph 46
PROJECT GALLERY

Project 46

View photo
Project photograph 47 Project photograph 47
PROJECT GALLERY

Project 47

View photo
Project photograph 48 Project photograph 48
PROJECT GALLERY

Project 48

View photo
Project photograph 49 Project photograph 49
PROJECT GALLERY

Project 49

View photo
Project photograph 50 Project photograph 50
PROJECT GALLERY

Project 50

View photo
Project photograph 51 Project photograph 51
PROJECT GALLERY

Project 51

View photo
Project photograph 52 Project photograph 52
PROJECT GALLERY

Project 52

View photo
Project photograph 53 Project photograph 53
PROJECT GALLERY

Project 53

View photo
Project photograph 54 Project photograph 54
PROJECT GALLERY

Project 54

View photo
Project photograph 55 Project photograph 55
PROJECT GALLERY

Project 55

View photo
Project photograph 56 Project photograph 56
PROJECT GALLERY

Project 56

View photo
Project photograph 57 Project photograph 57
PROJECT GALLERY

Project 57

View photo
Project photograph 58 Project photograph 58
PROJECT GALLERY

Project 58

View photo
Project photograph 59 Project photograph 59
PROJECT GALLERY

Project 59

View photo
Project photograph 60 Project photograph 60
PROJECT GALLERY

Project 60

View photo
Project photograph 61 Project photograph 61
PROJECT GALLERY

Project 61

View photo
Project photograph 62 Project photograph 62
PROJECT GALLERY

Project 62

View photo
Project photograph 63 Project photograph 63
PROJECT GALLERY

Project 63

View photo
Project photograph 64 Project photograph 64
PROJECT GALLERY

Project 64

View photo
Project photograph 65 Project photograph 65
PROJECT GALLERY

Project 65

View photo
Project photograph 66 Project photograph 66
PROJECT GALLERY

Project 66

View photo
OUR FAQ

Your paving questions, answered.

Make informed decisions about your property. These answers cover the basics; recommendations should reflect the conditions on your site.

That depends on the extent of cracking, drainage and the condition of the base. Photos are a useful starting point; an on-site assessment helps distinguish surface damage from deeper problems.

Area, access, demolition, grading, base preparation, drainage and material choice all affect the scope. A written estimate should explain what is included and any exclusions.

The timing depends on the material, installation conditions and weather. Ask for project-specific guidance for foot traffic, vehicles and ongoing care before using the surface.

Include your town and ZIP code, the type of work, rough dimensions, photos and preferred timing. Mention standing water, access restrictions or any areas of concern.

LET’S PLAN YOUR PROJECT

Tell us what you have in mind.

Prepare your project details below. Contact information and the service area are being finalized for launch.

Service area

To be confirmed before launch.

Contact & appointments

Contact details coming soon.

This form prepares a project brief on your device. It does not submit a request.